Remember the garden we planted? Well things are getting big and tall in there and we are reaping the benefits with lots of cucumbers, zucchini, lettuce, and kale! I'm waiting very impatiently for our tomatoes to ripen. We've had a few of the sungold ripen up but I just eat them while I'm standing there watering. Poor husband has yet to sample one. How are things turning up in your gardens??
Thursday, July 19, 2012
Wednesday, July 18, 2012
Tie Dye: Reinvented
Ok, it's not really reinvented, it's just totally new to me. I bought these spray bottles of Tumble Dye after reading a blog post and seeing the vibrant colors! I knew I had to try it myself. And naturally, Little Man and a few of his friends needed some new summer gear. The process was really simple and the cleanup was pretty minimal compared to having buckets of dye like in the olden days. The colors are amazing and the process is fun. My only complaint is that because you don't saturate the fabric in dye the way that you do when you use buckets, there was a lot of white left over. So I retied and tried again a few times until I got the results that I desired. Here's the scoop.
Materials
Damp cotton shirts
Tumble Dye Spray
Newspaper
Rubber bands
Fold, roll, or twist the dampened shirts on a protected surface and add rubber bands. I tried a couple of different techniques. My favorite one was accordion folded, then rolled into a smaller ball, and then I tied it up with a rubber band. If you are interested in some tips you can check more out here, and find some video tutorials here.
Next, you start spraying! As I mentioned, I did unfold things and check out their process along the way and added more dye as needed. Once you have achieved the look you like, untwist and cut all rubber bands off. Hang up the shirts to air dry. Once they are dry you toss them into the dryer to set for 20 minutes.
After a full wash cycle, some of the colors did fade a bit but I think they turned out pretty great! I added a little more embellishment to the pink and yellow onesie just for fun. Now Oliver and his buddies are geared up for summer music festivals! More likely just some backyard fun. And here he is scoping out the other babes on our way home from dinner last night. These temps are brutal and therefore our kitchen is closed.
Tuesday, July 17, 2012
What is Love
The other night was rough. Poor baby boy is getting molars and got a pretty nasty virus and let me tell you, it's not pretty. He can't sleep, he's feverish and clingy, and just not himself. It sucks. So once again we let him cuddle up with us in bed and take over all aspects of comfort in an effort to soothe his little soul. I knew we were in for a rough night of no sleep but as I was laying there getting kicked in the face, stomach, neck, knowing that my husband was getting the same treatment, I had a thought. This is love. He needed us and we are there, no matter if that means we are suffering the next day. This little dude has all of our heart and we are happy to give it. Three cheers to all the good parents out there, you are amazing.
Monday, July 16, 2012
Something New
There's something new around these parts and I'm pretty excited about it! I've had a redesign of all things Simple Hands and am happy to present it all just in time for Art in the Petit Parc this Friday!!
I have been lucky enough to make friends with one of the most talented graphic designers and illustrators in town. I happen to know a few very talented designers but for now we are just talking about the one. Brian Andrew Jasinski of Grey Cardigan...pause for applause. I met him through a mutual friend years ago and we have become great friends. The kind that sends that text message at 7:00am because we just had to share a very important thought.
When he launched Grey Cardigan, I was immediately one of his biggest fans right off the bat! We have three prints of our own and have given a few as gifts too! So when I started thinking of really getting a design in place, he stepped up and delivered something pretty great that captures the simple creativity and beauty of what I'm creating over here. Thanks so so much, my friend!
You can check out the Etsy Shop now too for handmade accessories for you and your little ones! I have a few more items up my sleeve to hopefully share later this week!
Friday, July 13, 2012
Top That Cake
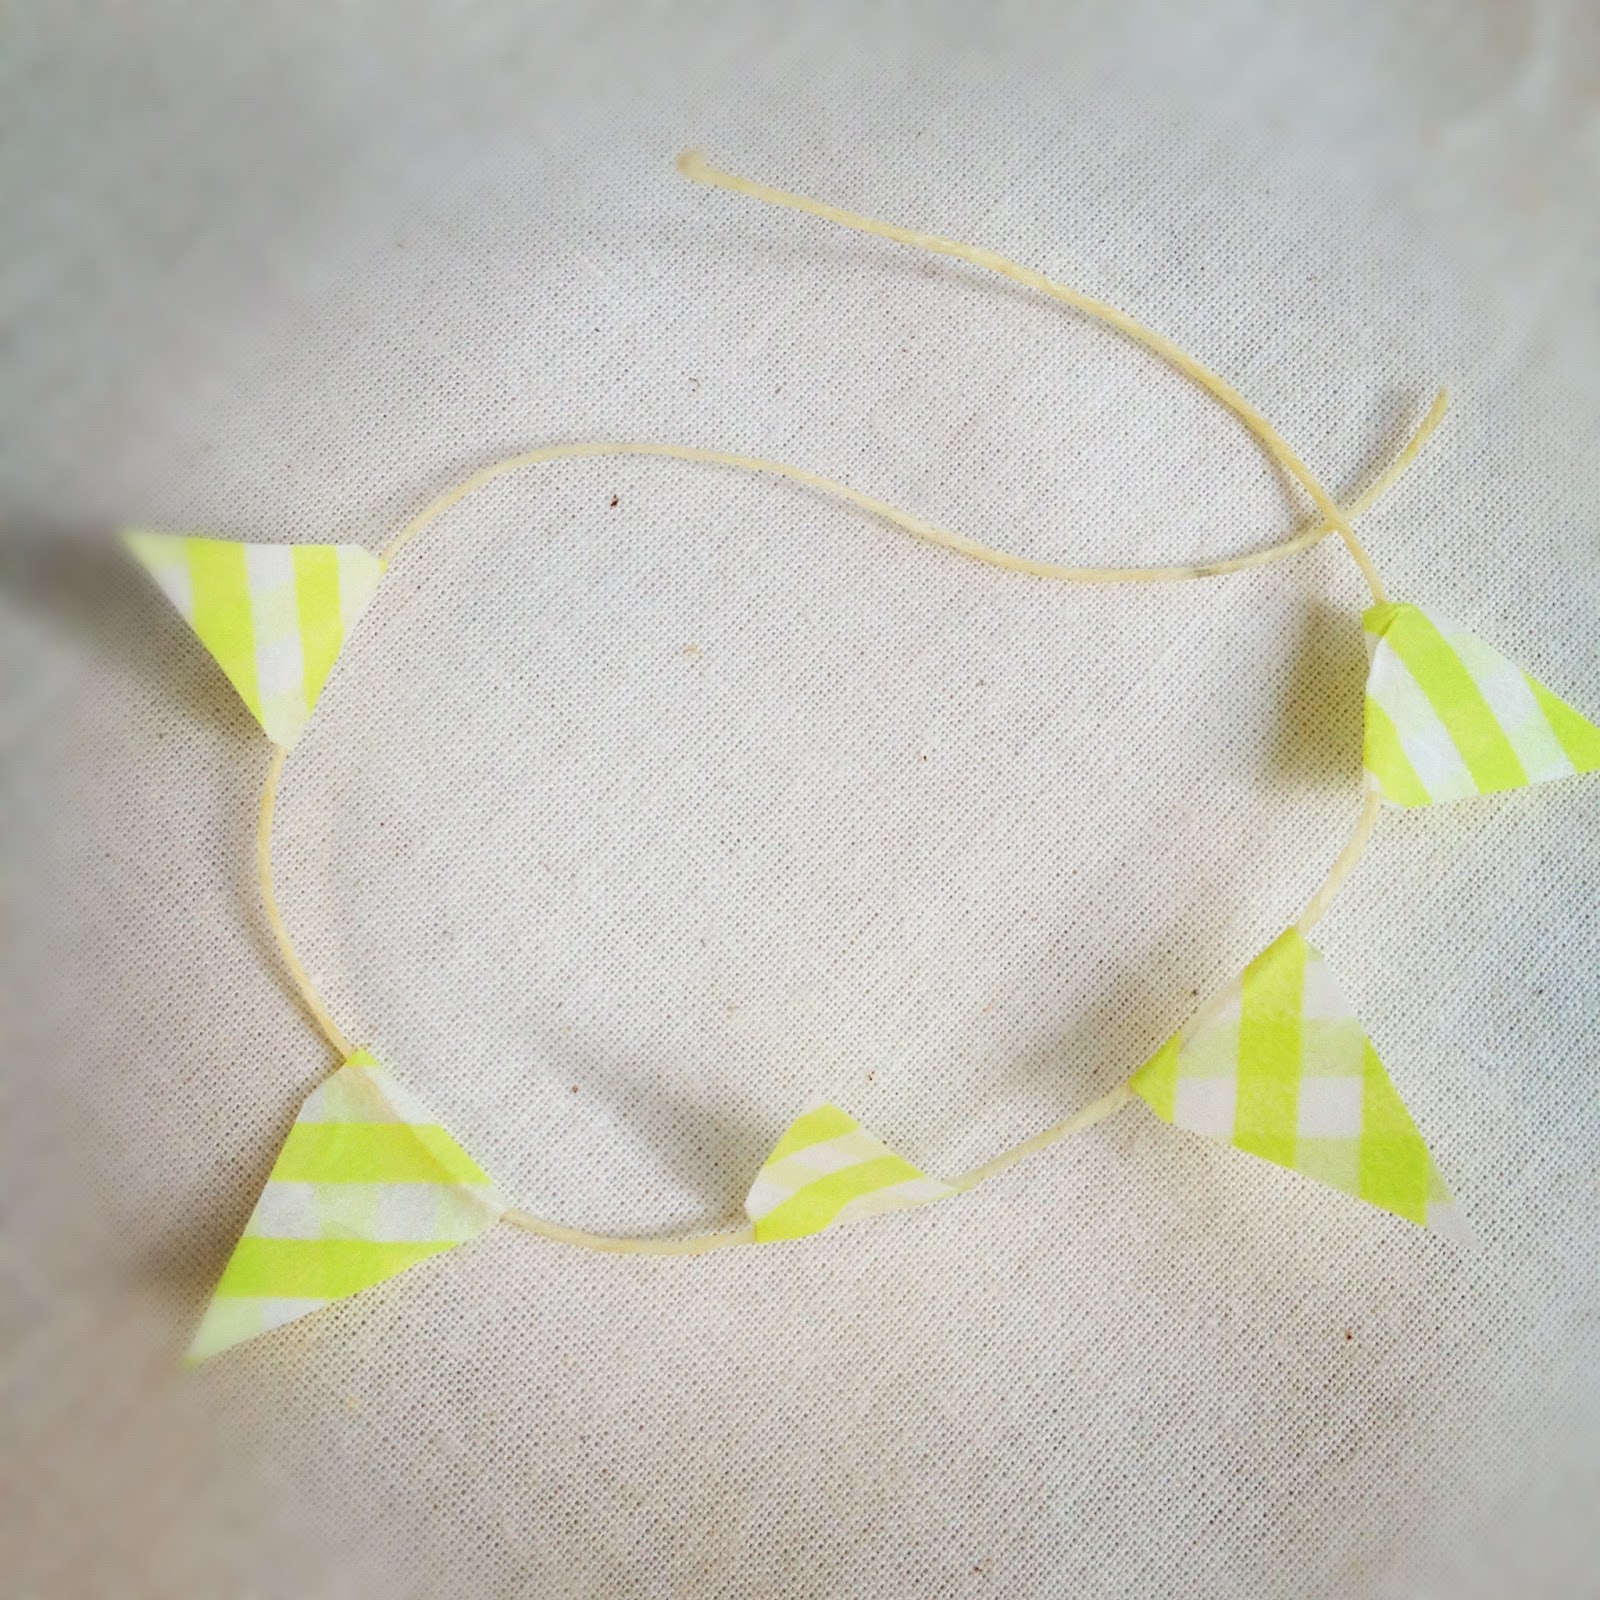
I've got a simple cake decorating DIY to share with you today! Finally, I've had some time to follow through with plans. Sometimes all a cake needs is a pennant banner to top it off. This would be great for a birthday party, wedding, or just a celebration with your friends. Here's how you do it.
Materials
Washi tape
String
2 wooden skewers
Scissors
Marker
Decide what word you are going to write and cut off the appropriate amount of tape. Fold each piece over the string.
Cut the tape into triangles and space them out so they span the length of string while allowing a little bit of slack for tying on.
Write out your word. I wrote "happy" because most of the time, parties make you happy, right?!
Tie the string to the skewers and plant that banner in your cake. It's time for a party. Go out there and decorate! If you are looking for more inspiration, or just wanting to admire some beautiful design, check out Potter and Butler. Their work is just gorgeous! Have a very happy Friday!
Subscribe to:
Posts (Atom)